
Zip package
Download fast-https_Windows_x86_64.zip from the release page, unzip it into any folder and run it. There is no installer; deleting the folder removes the program.
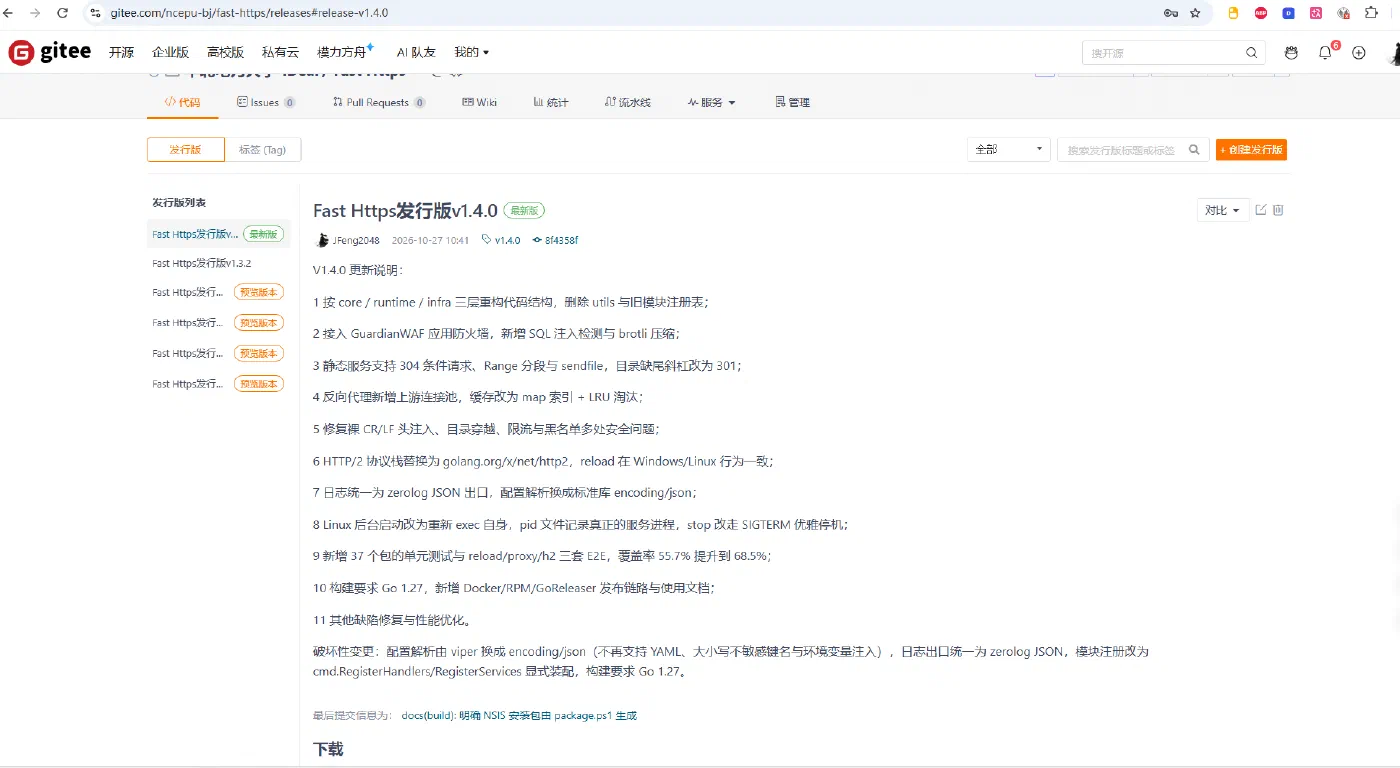
1 Unzip the package
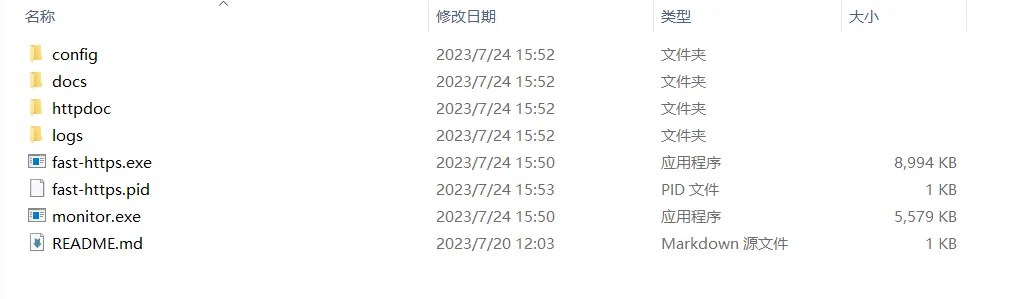
2 Edit the default configuration
Open fast-https.conf in the config folder:
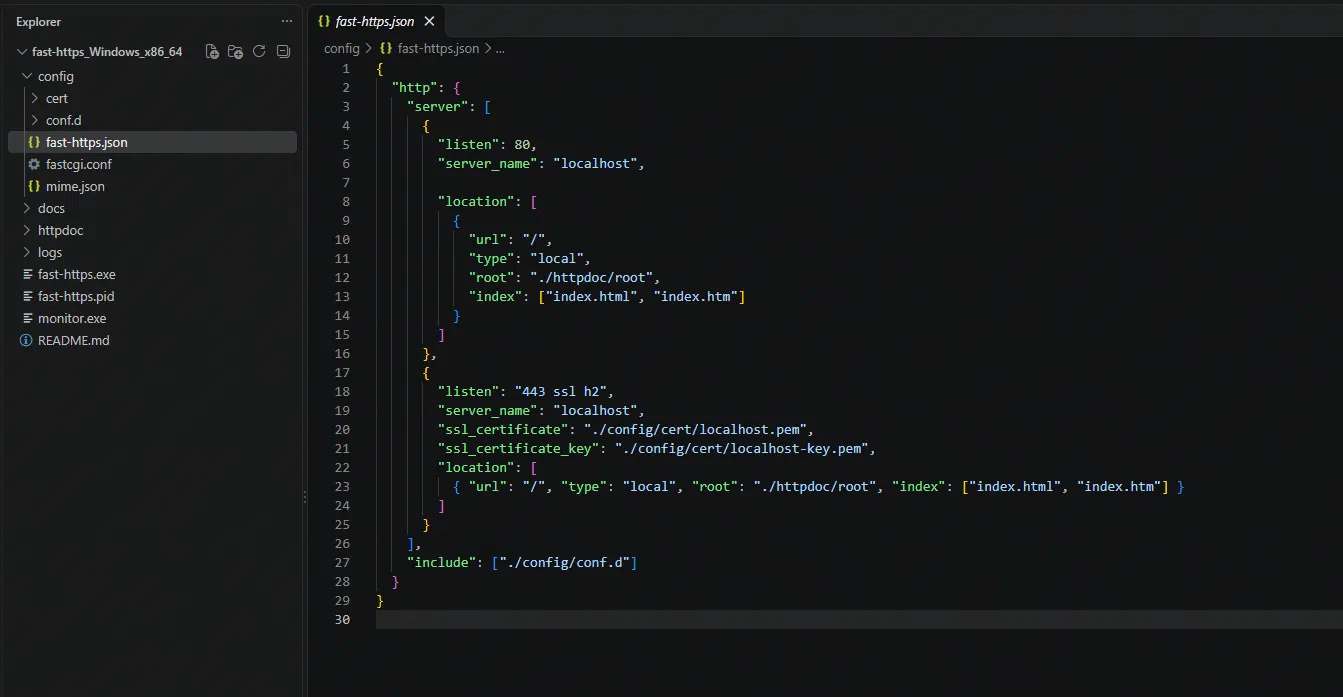
The default configuration looks like this:
{
  "http": {
    "server": [
      {
        "listen": 80,
        "server_name": "localhost",

        "location": [
          {
            "url": "/",
            "type": "local",
            "root": "./httpdoc/root",
            "index": ["index.html", "index.htm"]
          }
        ]
      },
      {
        "listen": "443 ssl h2",
        "server_name": "localhost",
        "ssl_certificate": "./config/cert/localhost.pem",
        "ssl_certificate_key": "./config/cert/localhost-key.pem",
        "location": [
          { "url": "/", "type": "local", "root": "./httpdoc/root", "index": ["index.html", "index.htm"] }
        ]
      }
    ],
    "include": ["./config/conf.d"]
  }
}
3 Start the server
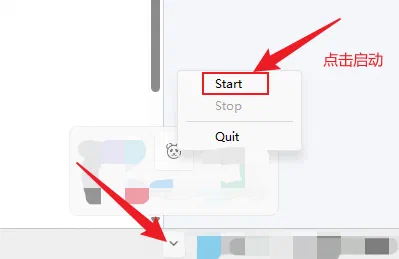
Run monitor.exe to start the manager:
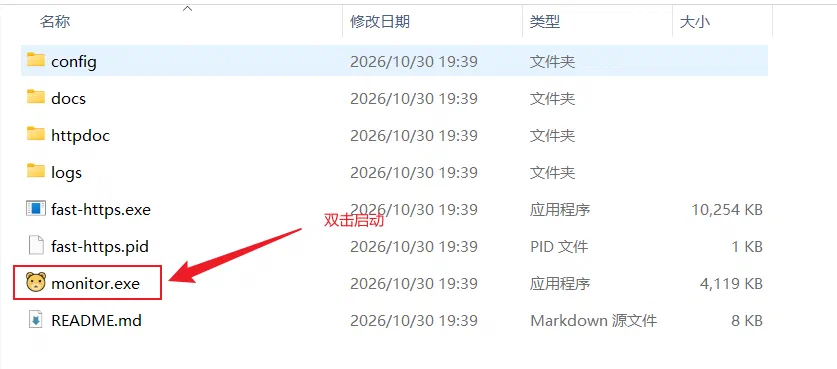
Then click the tray icon in the notification area:
4 Verify the installation
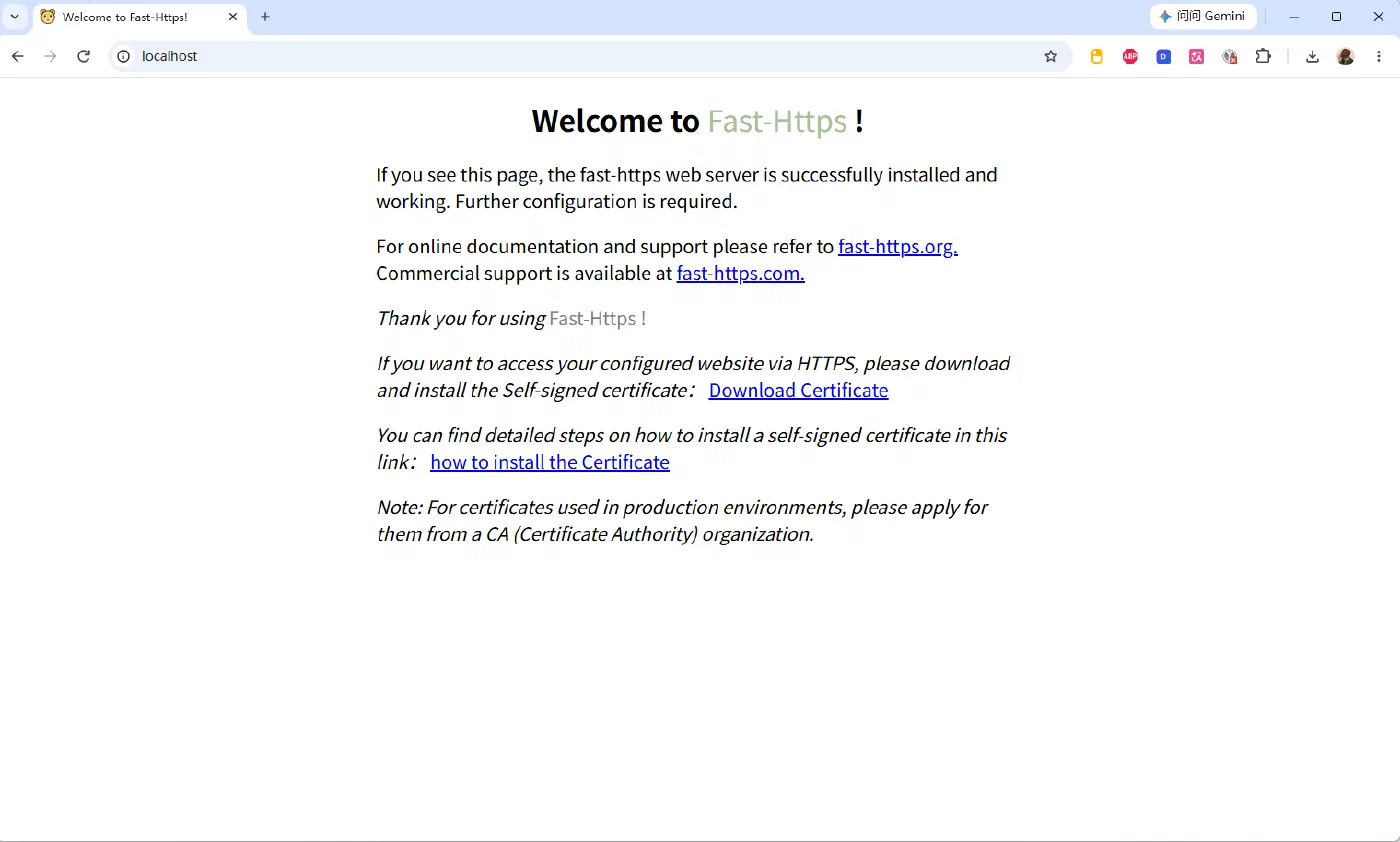
Open https://localhost:8080/index.html in a browser — the default welcome page confirms the server is up:
That is the whole zip package installation on Windows.